How To Put Emails On Your Inbox’s Whitelist
We’re all familiar with our inbox spam folder. This is where emails that we aren’t interested in go to die and depending on your settings; it will be permanently removed from your mailbox after 30 days. We can mark emails that we don’t want to receive as spam, but sometimes we find unread emails in our spam folders that have gone under our radar. Often these contain time limited offers or events that have now long passed, and there’s nothing more frustrating that knowing that you’ve missed out.
What happens in cases when you’ve subscribed to emails, but they end up in the spam folder? How do you prevent this? You’ll need to add them to your ‘whitelist’. A whitelist comprises of a list of email addresses and domain names that your service provider’s email blocking program will allow. You will never miss another email that’s important to you again.
Why Is This Important?
The problem of spam has grown substantially over recent years, and that’s why blocking programs have become more prevalent. Spam is a nuisance to everyone, and it’s also accompanied by a slight fear that it might harbour a virus or malware. The step that service providers have taken to protect you from spam is commendable because it limits this risk from spreading. If many people have been flagging similar emails as inappropriate or as spam, they could automatically end up in your spam folder. Below you’ll see some ways that you can make sure this doesn’t happen.
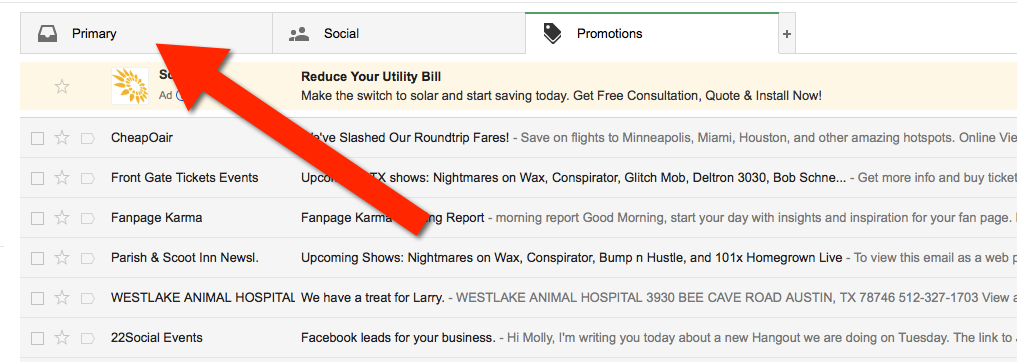
Gmail
Locating the incorrectly labelled email in your Gmail account and move the email to you “primary” folder. This will keep it from going to your spam folder in future.